'use client';
import { useState, useEffect } from 'react';
import { ethers } from 'ethers';
import deployedAddresses from '../../lib/deployedAddresses.json';
// Import ABIs
const TokenA = {
abi: [
"function balanceOf(address owner) view returns (uint256)",
"function approve(address spender, uint256 amount) returns (bool)"
]
};
const TokenB = {
abi: [
"function balanceOf(address owner) view returns (uint256)"
]
};
const TokenSwap = {
abi: [
"function swap(uint256 amount) returns (bool)"
]
};
export default function Home() {
const [account, setAccount] = useState('');
const [tokenABalance, setTokenABalance] = useState('0');
const [tokenBBalance, setTokenBBalance] = useState('0');
const [swapAmount, setSwapAmount] = useState('');
const [loading, setLoading] = useState(false);
useEffect(() => {
checkIfWalletIsConnected();
}, []);
useEffect(() => {
if (account) {
updateBalances();
}
}, [account]);
async function checkIfWalletIsConnected() {
try {
const { ethereum } = window as any;
if (!ethereum) return;
const accounts = await ethereum.request({ method: 'eth_accounts' });
if (accounts.length > 0) {
setAccount(accounts[0]);
}
} catch (error) {
console.error(error);
}
}
async function connectWallet() {
try {
const { ethereum } = window as any;
if (!ethereum) return;
const accounts = await ethereum.request({ method: 'eth_requestAccounts' });
setAccount(accounts[0]);
} catch (error) {
console.error(error);
}
}
async function updateBalances() {
try {
const { ethereum } = window as any;
const provider = new ethers.BrowserProvider(ethereum);
const signer = await provider.getSigner();
const tokenAContract = new ethers.Contract(deployedAddresses.TokenA, TokenA.abi, signer);
const tokenBContract = new ethers.Contract(deployedAddresses.TokenB, TokenB.abi, signer);
const balanceA = await tokenAContract.balanceOf(account);
const balanceB = await tokenBContract.balanceOf(account);
setTokenABalance(ethers.formatEther(balanceA));
setTokenBBalance(ethers.formatEther(balanceB));
} catch (error) {
console.error(error);
}
}
async function handleSwap() {
if (!swapAmount) return;
setLoading(true);
try {
const { ethereum } = window as any;
const provider = new ethers.BrowserProvider(ethereum);
const signer = await provider.getSigner();
const tokenAContract = new ethers.Contract(deployedAddresses.TokenA, TokenA.abi, signer);
const swapContract = new ethers.Contract(deployedAddresses.TokenSwap, TokenSwap.abi, signer);
const amount = ethers.parseEther(swapAmount);
// First approve TokenSwap contract to spend TokenA
const approveTx = await tokenAContract.approve(deployedAddresses.TokenSwap, amount);
await approveTx.wait();
// Then perform the swap
const swapTx = await swapContract.swap(amount);
await swapTx.wait();
// Update balances after swap
await updateBalances();
setSwapAmount('');
} catch (error) {
console.error(error);
} finally {
setLoading(false);
}
}
return (
<div className="min-h-screen bg-white relative">
{/* Connection status */}
<div className="absolute top-6 right-6">
<p className="text-sm text-gray-600">
{account ? 'Connected' : 'Not Connected'}
</p>
</div>
{/* Main content */}
<div className="flex flex-col items-center justify-center min-h-screen">
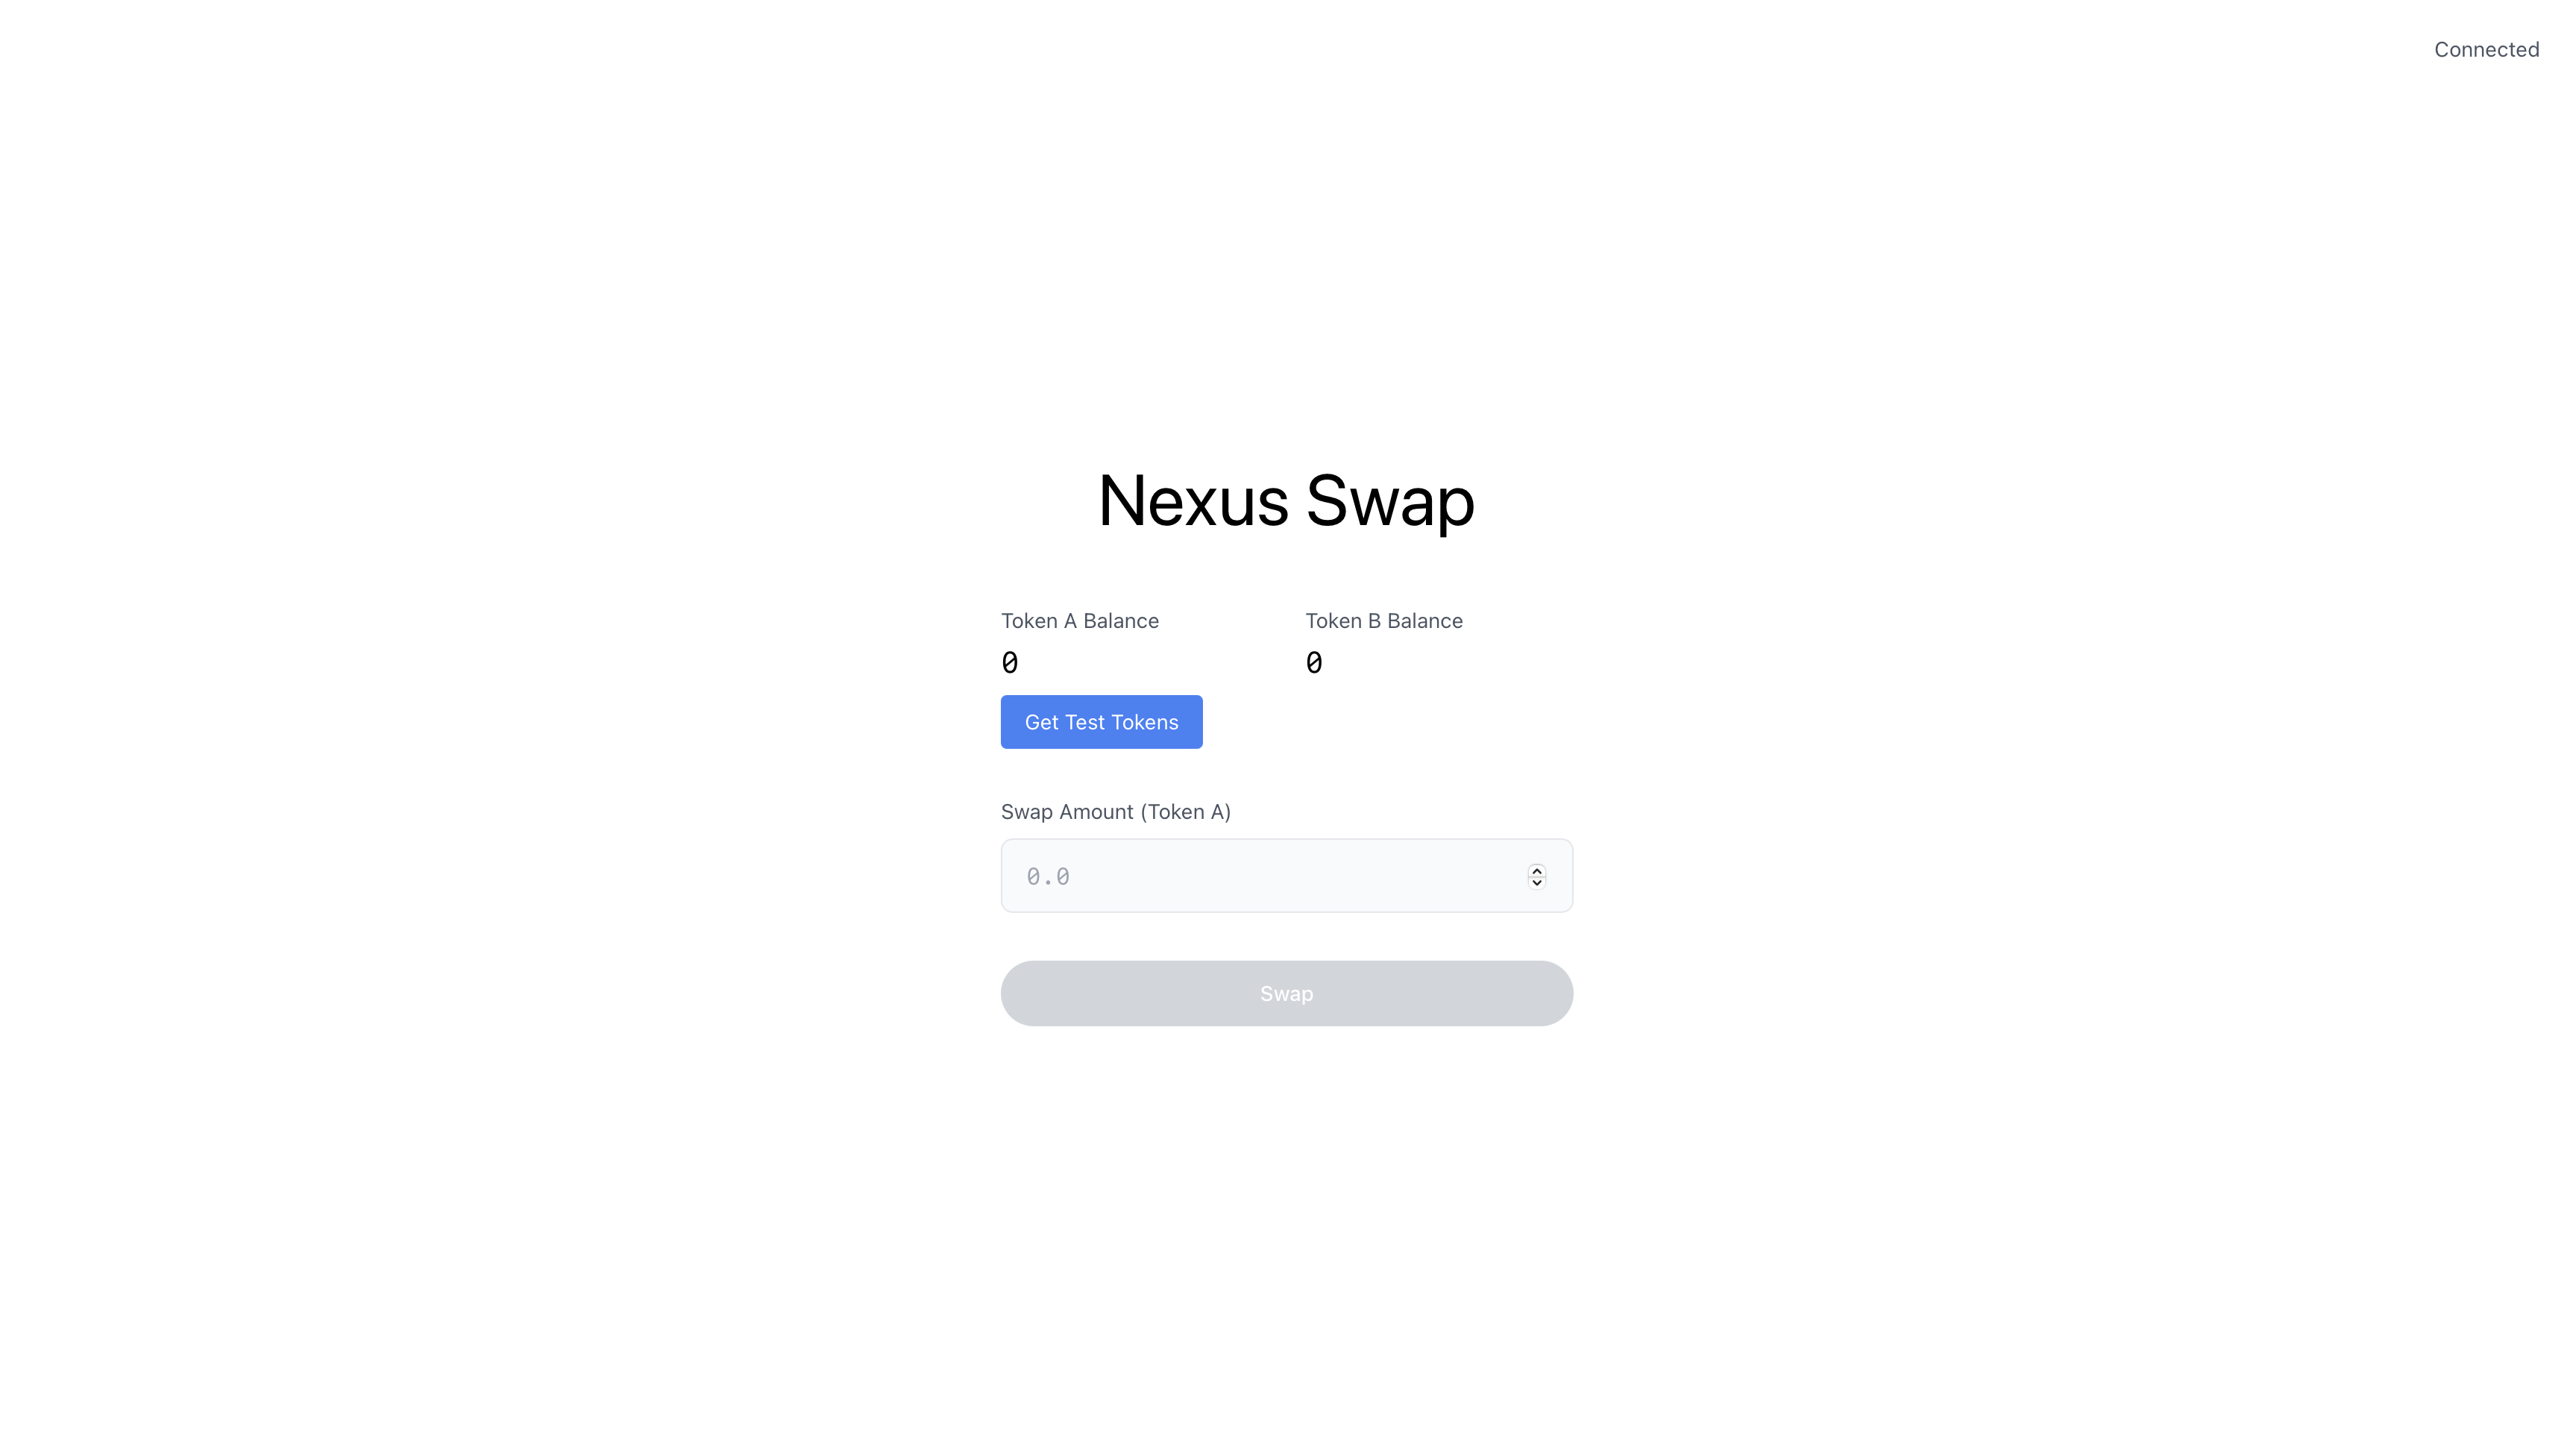
<h1 className="text-5xl font-normal mb-12 text-black">Nexus Swap</h1>
{!account ? (
<button
onClick={connectWallet}
className="bg-black text-white px-6 py-3 rounded-full text-sm font-medium hover:bg-gray-800 transition-colors"
>
Connect Wallet
</button>
) : (
<div className="space-y-8 w-full max-w-sm">
<div className="grid grid-cols-2 gap-6">
<div>
<p className="text-sm text-gray-600 mb-1">Token A Balance</p>
<p className="font-mono text-xl">{tokenABalance}</p>
</div>
<div>
<p className="text-sm text-gray-600 mb-1">Token B Balance</p>
<p className="font-mono text-xl">{tokenBBalance}</p>
</div>
</div>
<div>
<label className="block text-sm text-gray-600 mb-2">
Swap Amount (Token A)
</label>
<input
type="number"
value={swapAmount}
onChange={(e) => setSwapAmount(e.target.value)}
placeholder="0.0"
className="w-full bg-gray-50 border border-gray-200 px-4 py-3 rounded-lg focus:outline-none focus:ring-2 focus:ring-black font-mono"
/>
</div>
<button
onClick={handleSwap}
disabled={loading || !swapAmount}
className="w-full bg-black text-white py-3 rounded-full text-sm font-medium hover:bg-gray-800 transition-colors disabled:bg-gray-300"
>
{loading ? 'Processing...' : 'Swap'}
</button>
</div>
)}
</div>
</div>
);
}